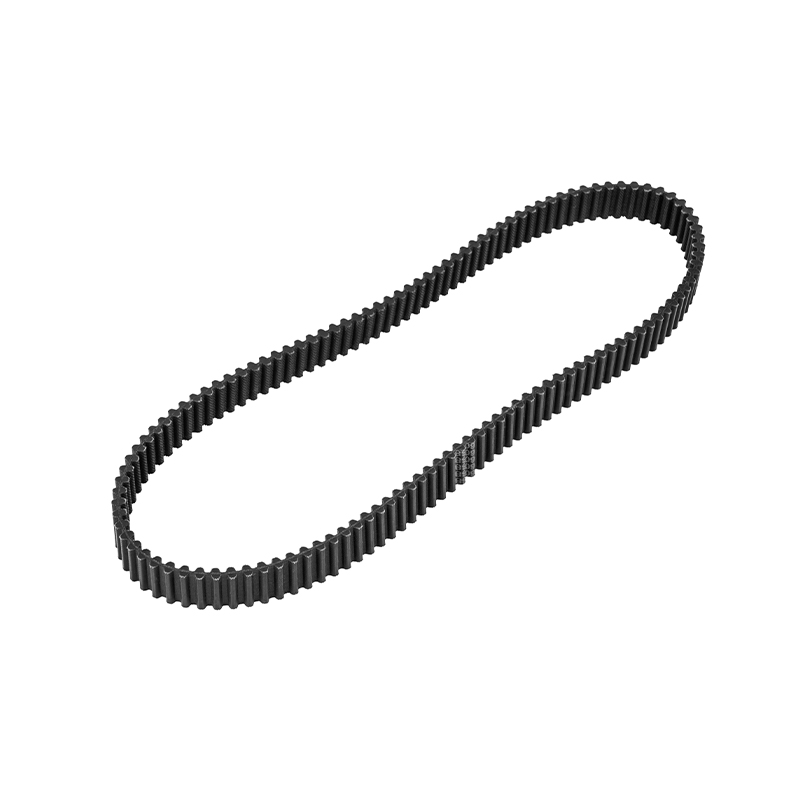
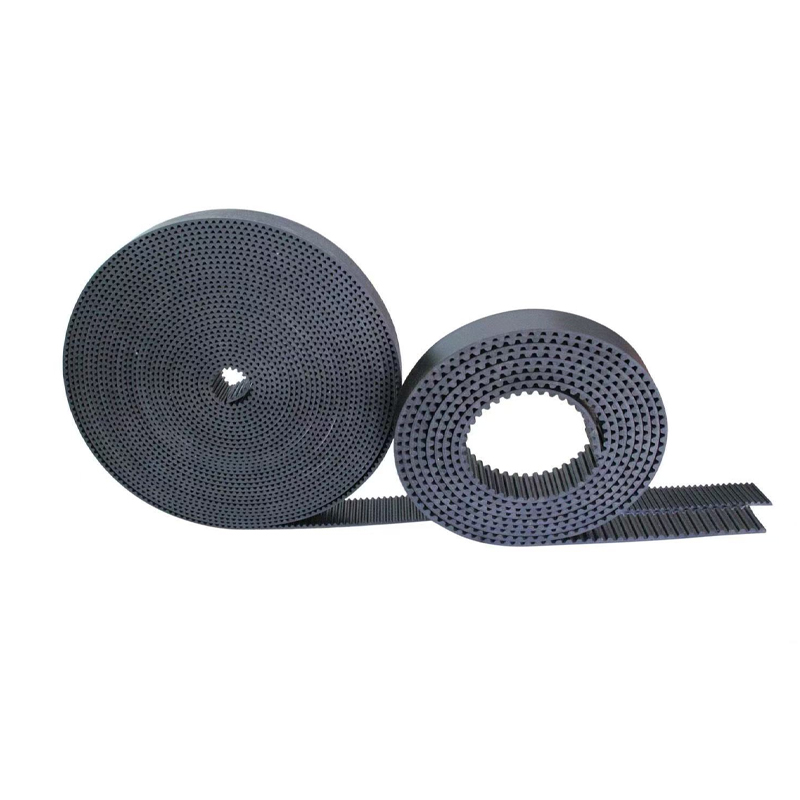
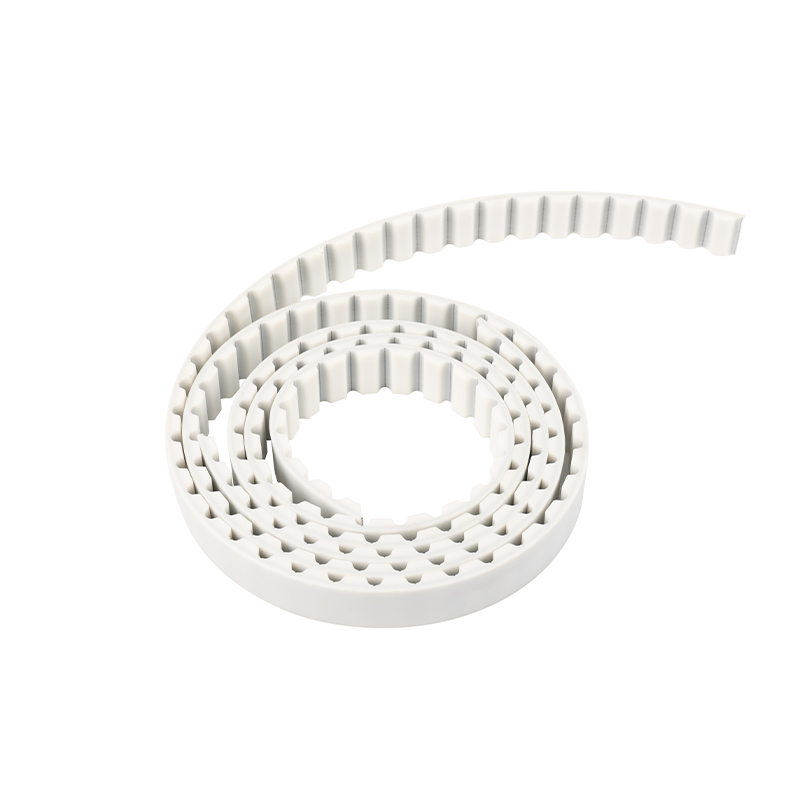
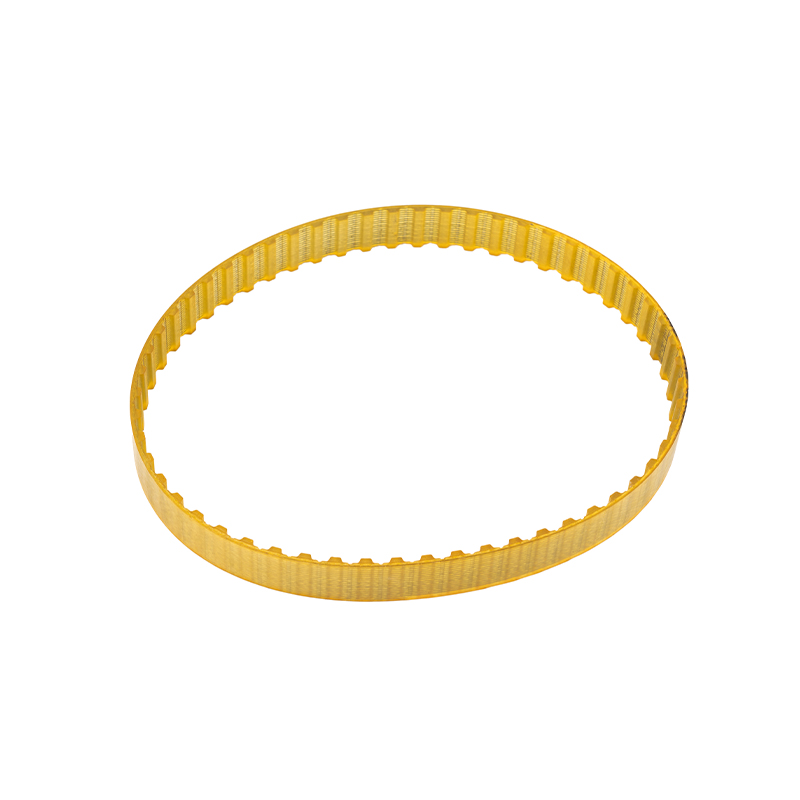
Fixing a timing belt — meaning a full replacement — typically takes 1 to 3 hours for automotive engines when performed by an experienced mechanic, though complex engines with transverse-mounted layouts or interference configurations can push the job to 4 to 8 hours. For industrial and mechanical drive applications, swapping a rubber or polyurethane (PU) timing belt on a machine axis usually takes 15 to 60 minutes once the correct belt is on hand.
The actual belt swap is rarely the time-consuming part. Gaining access to the belt — removing covers, ancillary components, or tensioners — accounts for the majority of labor. Understanding what drives replacement time helps maintenance engineers plan downtime windows, and understanding the difference between rubber timing belts and polyurethane timing belts helps engineers choose a replacement that lasts longer in the first place.
How Long Does It Take to Replace a Timing Belt by Application
Replacement time varies significantly by application type. The table below provides realistic time estimates across common contexts, from passenger vehicles to CNC machine drives.
Estimated timing belt replacement times by application and complexity level
| Application |
Simple Layout |
Average Layout |
Complex Layout |
Main Time Driver |
| Automotive engine (4-cyl) |
1.5–2 hrs |
2–3 hrs |
4–6 hrs |
Timing cover access, water pump removal |
| Automotive engine (V6/V8) |
3–4 hrs |
5–6 hrs |
7–8 hrs |
Dual cam chains/belts, tight engine bay |
| CNC machine axis drive |
15–30 min |
30–45 min |
60–90 min |
Re-tensioning, re-calibration after swap |
| 3D printer / laser cutter |
10–20 min |
20–30 min |
30–45 min |
Carriage realignment and belt tensioning |
| Conveyor / packaging machine |
20–40 min |
40–75 min |
90–120 min |
Guard removal, center-distance adjustment |
One frequently overlooked factor: sourcing delay. If the correct replacement belt is not in stock, lead time — not labor — becomes the dominant downtime factor. Stocking one spare belt per critical drive axis is a widely recommended practice in predictive maintenance programs.
What Actually Takes the Most Time During a Timing Belt Replacement
For both automotive and industrial contexts, the belt itself takes minutes to install. The surrounding tasks consume most of the elapsed time. Understanding where time goes helps maintenance planners set realistic downtime windows.
Automotive: The Access Problem
On most passenger vehicles, the timing belt sits behind a plastic or aluminum timing cover that requires removing at minimum: the engine splash shield, serpentine belt and accessories (alternator, power steering pump), crankshaft pulley bolt (often torqued to 150–200 Nm and requiring a holding tool), and the cover itself. On transverse-mounted engines in compact vehicles, the right engine mount may also need to be supported and moved. Mechanics routinely recommend replacing the water pump, tensioner pulley, and idler pulleys at the same time — adding 30–60 minutes but preventing a repeat disassembly within the belt's service interval.
Industrial Drives: Tensioning and Alignment Are the Critical Steps
On CNC axes and conveyor systems, threading the new belt onto the sprockets is quick. The time-consuming tasks are: setting correct belt tension using a frequency meter or tension gauge (under-tension causes tooth skipping; over-tension causes premature bearing failure), verifying pulley alignment to within 0.5 mm per 100 mm of belt width, and running test cycles to confirm positioning accuracy has been restored. For servo-driven axes, a homing or calibration routine must be re-executed after any timing belt change.
Rubber Timing Belt vs. Polyurethane Timing Belt: Which Should You Install
When replacing a timing belt — particularly in industrial, motion control, and automation applications — the choice between a rubber timing belt and a polyurethane (PU) timing belt significantly affects service life, replacement frequency, and total maintenance cost. These are not interchangeable materials; each suits different operating environments.
Rubber Timing Belts
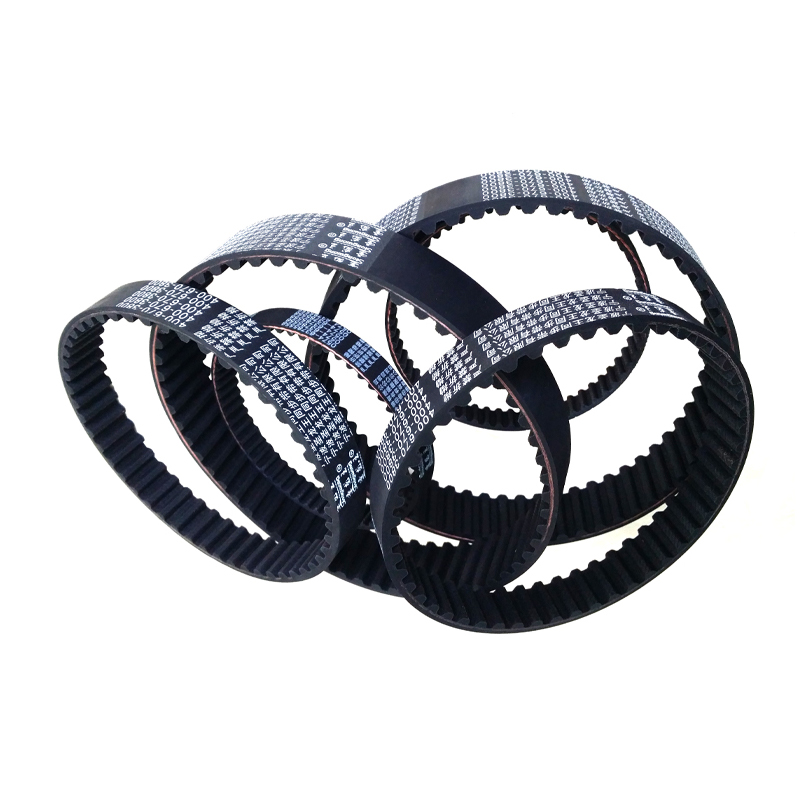
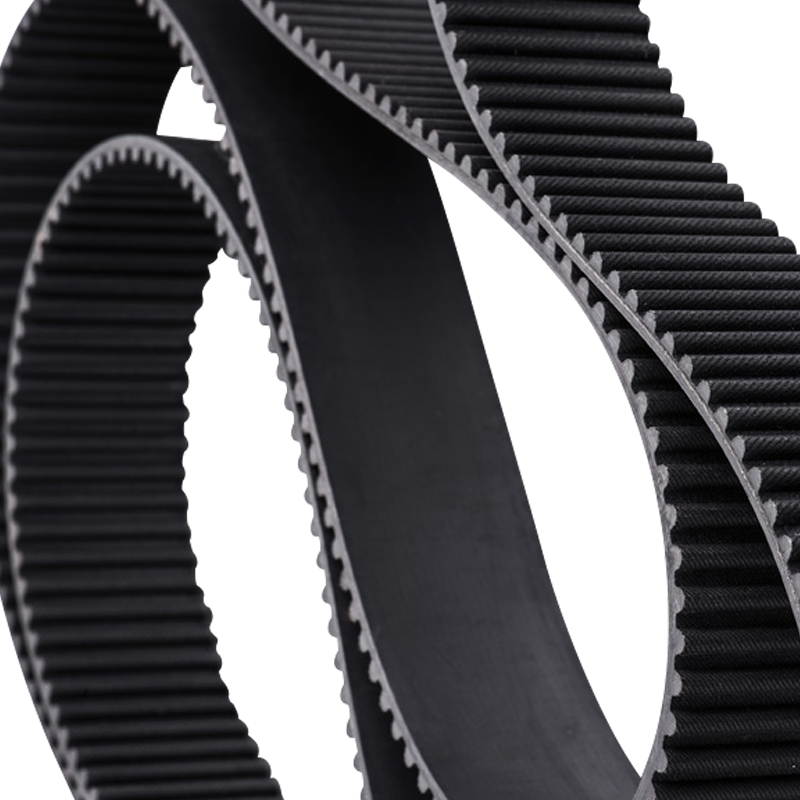
Rubber timing belts — most commonly made from neoprene (CR), hydrogenated nitrile butadiene rubber (HNBR), or chlorosulfonated polyethylene (ACSM/CSP) — are the standard choice for automotive engines and many general industrial drives. They are reinforced internally with fiberglass or aramid (Kevlar) cord tensile members that carry load while limiting elongation.
- Temperature range: HNBR rubber belts operate reliably from −40°C to +150°C, making them suitable for engine compartments where sustained high temperatures are the norm.
- Flexibility: Rubber's inherent elasticity allows small-diameter pulley operation (as small as 10 mm pitch diameter in light-duty belts) without cracking or stiffness loss.
- Noise: Rubber belts run quietly, which is why they remain the standard in automotive cam drive applications where noise, vibration, and harshness (NVH) requirements are strict.
- Moisture sensitivity: Rubber degrades faster in environments with oil contamination, ozone exposure, or prolonged moisture — conditions that accelerate cracking and delamination of the tooth facing fabric.
- Typical service life: In automotive applications, rubber timing belts are typically replaced every 60,000–105,000 miles (96,000–169,000 km) or 5–7 years. Industrial rubber belts typically achieve 15,000–25,000 operating hours under designed loads.
Polyurethane (PU) Timing Belts
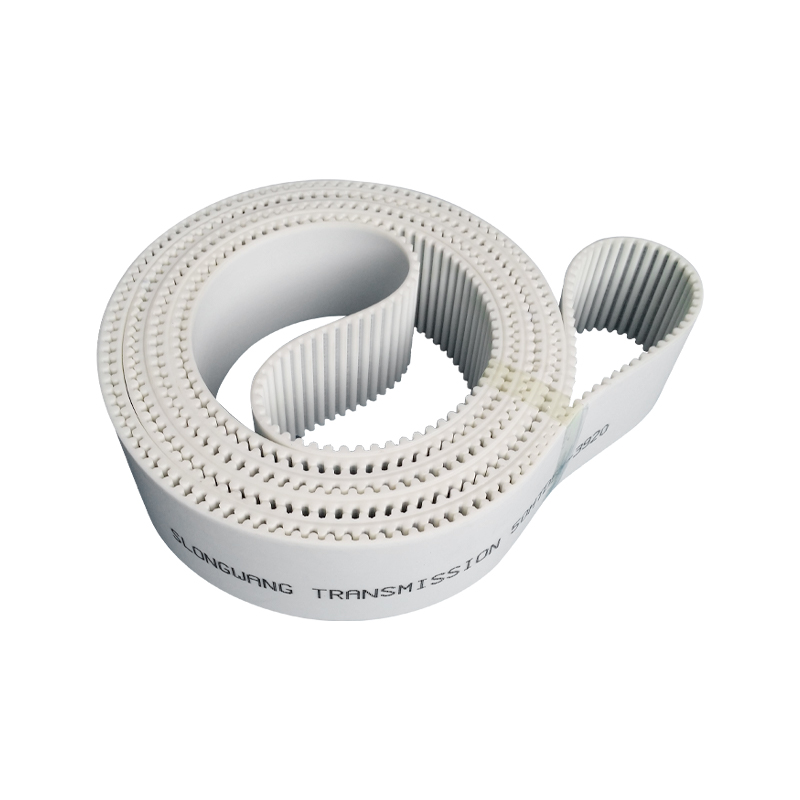
Polyurethane timing belts are cast or extruded from thermoplastic polyurethane (TPU) with steel or aramid cord reinforcement. They are the dominant choice in precision motion control, linear positioning, robotics, and automation equipment where dimensional stability, wear resistance, and contamination tolerance outweigh the need for flexibility at extreme temperatures.
- Dimensional stability: PU belts exhibit significantly lower elongation under load than rubber belts — steel-cord PU belts stretch less than 0.1% at rated tension, making them essential for high-repeatability positioning applications such as CNC axes and pick-and-place robots.
- Wear resistance: Polyurethane resists abrasion far better than rubber. In applications with contaminants like metal chips, dust, or grit, PU tooth profiles maintain geometry significantly longer, extending belt life by 2–5× compared to rubber equivalents in abrasive environments.
- Chemical resistance: PU belts are resistant to oils, greases, many solvents, and dilute acids — environments that rapidly degrade rubber compounds.
- Temperature range: Standard PU belts operate from −30°C to +80°C, with special high-temperature formulations reaching +100–110°C. They are not suitable for automotive engine bays where sustained temperatures exceed 120°C.
- Welded open-end belts: PU timing belts are available in open-end rolls that can be cut to length and welded with a heated joining tool — enabling custom lengths and simplifying installation on machines where threading a closed loop is impractical. Rubber belts cannot be field-welded.
- Noise: PU belts tend to run slightly louder than rubber, especially at higher speeds, due to the harder material engaging steel sprocket teeth.
Head-to-Head Comparison: Rubber vs. PU Timing Belt
The table below summarizes the key differentiators between rubber and polyurethane timing belts to support material selection decisions during replacement.
Key property comparison between rubber and polyurethane timing belts for industrial and motion control applications
| Property |
Rubber Timing Belt |
PU Timing Belt |
| Operating temperature max |
+150°C (HNBR) |
+80–110°C |
| Elongation under load |
0.3–0.6% |
<0.1% (steel cord) |
| Abrasion resistance |
Moderate |
Excellent |
| Oil / chemical resistance |
Moderate (HNBR better) |
Good–Excellent |
| Flexibility / min pulley dia. |
Excellent (10 mm+) |
Good (16 mm+ recommended) |
| Positioning repeatability |
±0.3–0.5 mm typical |
±0.05–0.1 mm typical |
| Field weldable (open-end) |
No |
Yes |
| Noise level |
Low |
Low–Moderate |
| Typical industrial service life |
15,000–25,000 hrs |
20,000–40,000 hrs |
| Best application fit |
Automotive, high-temp drives |
CNC, robotics, precision motion |
Timing Belt Profiles and Pitch: Matching the Replacement to the System
Both rubber and PU timing belts are produced in standardized tooth profiles. Using the wrong profile — even if the belt fits physically — causes accelerated wear, noise, and eventual tooth stripping. Always match the replacement belt to the original tooth geometry.
- MXL / XL / L / H / XH / XXH (trapezoidal, imperial): Legacy trapezoidal tooth profiles widely used in older industrial machinery. XL (9.525 mm pitch) and L (12.7 mm pitch) are the most common in light-to-medium industrial drives. Both rubber and PU versions are readily available.
- T2.5 / T5 / T10 / T20 (trapezoidal, metric): Metric trapezoidal profiles dominant in European industrial and automation equipment. T5 (5 mm pitch) and T10 (10 mm pitch) are found in most conveyor and packaging machine drives.
- AT5 / AT10 / AT20 (modified trapezoidal, metric): The "AT" series features a wider tooth base for improved load distribution and reduced backlash — common in CNC and servo drive applications.
- HTD (3M / 5M / 8M / 14M — curvilinear): High Torque Drive profiles with a rounded tooth form that distributes load more evenly across teeth, enabling 30–40% higher torque capacity than equivalent trapezoidal profiles. Used in high-power industrial drives and many automotive accessory drives.
- GT2 / GT3 / GT5 (Gates PowerGrip GT — modified curvilinear): The precision motion control standard. GT2 (2 mm pitch) and GT3 (3 mm pitch) are the default belt specification for virtually all desktop CNC routers, 3D printers, and laser cutters manufactured since 2015. GT profiles offer near-zero backlash and are available in both rubber and PU.
Step-by-Step: How to Replace an Industrial Timing Belt Efficiently
For industrial and automation equipment, following a systematic replacement procedure minimizes downtime and prevents errors that require a second disassembly. The process below applies to both rubber and PU belt replacements on standard open-drive systems.
- Isolate and lock out the drive: Follow LOTO (Lock Out / Tag Out) procedures. Confirm zero energy state before opening any guard or cover.
- Document the current setup: Photograph the belt routing, tensioner position, and pulley alignment marks before disassembly. Record the old belt's part number, width, length, and tooth count from the belt's printed markings or stamped end.
- Release tension: Loosen the tensioner or adjust the motor/idler mounting to reduce center distance until the belt can be lifted off the pulleys without tools. Never cut a timing belt to remove it — tooth count verification requires the intact belt.
- Inspect pulleys and bearings: Check pulley flanges for cracks, tooth wear (compare profile to a new pulley or the belt manufacturer's wear limit gauges), and pulley alignment. Replace worn pulleys — installing a new belt on worn teeth immediately accelerates the new belt's wear.
- Install the new belt: For closed-loop belts, thread over the smaller pulley first. For open-end PU belts, route the belt, cut to length with a sharp straight cut, and weld the join using a belt welding tool set to the material manufacturer's specified temperature (typically 180–220°C for TPU belts). Allow the weld to cool under light tension for 3–5 minutes before loading.
- Set tension: Use a belt frequency meter to measure belt span frequency and compare to the manufacturer's specification. Alternatively, use the static deflection method: apply a defined force perpendicular to the belt span midpoint and measure deflection in mm per 100 mm of free span.
- Verify alignment: Use a straightedge or laser alignment tool across the pulley faces. Misalignment exceeding 0.5 mm per 100 mm of pulley width causes uneven edge wear and rapid belt failure.
- Run a break-in cycle and recheck: Operate the drive for 10–15 minutes under normal load. PU belts with steel cord experience a brief initial elongation (break-in stretch) during the first few hours; retension after break-in per the manufacturer's specification.
Signs Your Timing Belt Needs Replacement Before the Scheduled Interval
Both rubber and PU timing belts can fail prematurely when operating conditions exceed design parameters. Recognizing early warning signs avoids catastrophic failure — which in an automotive interference engine can cause piston-to-valve contact and engine destruction costing $3,000–$8,000, and in a CNC machine can cause axis crashes, scrap parts, and damaged ball screws.
Rubber Timing Belt Warning Signs
- Visible cracking or glazing on the belt back or between teeth — indicates heat degradation or age hardening.
- Missing, chipped, or unevenly worn teeth — caused by over-tension, misalignment, or foreign debris ingestion.
- Fraying along belt edges — a classic symptom of pulley misalignment.
- Oil or coolant contamination — rubber compounds swell and soften when saturated with petroleum products; even minor oil leaks near the timing cover accelerate rubber belt degradation.
- Unusual engine noise — a high-pitched squeal or rhythmic ticking from the timing cover area may indicate a failing tensioner bearing, which if not addressed will damage the belt.
PU Timing Belt Warning Signs
- Tooth shear or chunking — teeth torn off the belt body, caused by peak overload events or severe tooth-to-pulley misalignment.
- Longitudinal cracking of the PU body — usually indicates belt operation below minimum temperature limit or UV degradation in outdoor installations.
- Cord exposure or fraying at the belt edges — indicates the belt has been running against a pulley flange under persistent misalignment load.
- Increased positioning error on a CNC axis — a gradual drift in repeatability that cannot be corrected by re-homing often indicates belt stretch beyond the elastic limit, signaling imminent cord fatigue failure.
- Weld joint failure — in open-end welded PU belts, the joint is the weakest point; inspect it visually at each scheduled maintenance interval for delamination or gap formation.
How to Reduce Timing Belt Replacement Frequency and Extend Service Life
The fastest way to reduce time spent on timing belt replacements is to extend intervals between them. The following practices consistently deliver measurable service life improvements for both rubber and PU belts in industrial applications.
- Size the belt for 80% of rated capacity: Running a timing belt at or near its published maximum load rating dramatically shortens life. Engineering the drive to use only 70–80% of rated tensile capacity at peak load is a standard design practice for achieving published service life expectations.
- Maintain correct tension at all times: Under-tension causes tooth jumping and accelerated tooth wear; over-tension fatigues the tensile cord and overloads shaft bearings. Re-check tension after the first 50 hours of operation on a new belt and at every scheduled maintenance interval thereafter.
- Keep pulleys aligned within specification: Studies by belt manufacturers indicate that misalignment is responsible for over 40% of premature timing belt failures in industrial drives. Invest in laser alignment tools for critical axes.
- Protect against contamination: In environments with coolant mist, cutting oil, or abrasive dust, enclosed belt guards substantially extend belt life. For rubber automotive belts, even a minor oil seal leak in the vicinity of the timing cover must be repaired before or during the belt replacement.
- Upgrade from rubber to PU where conditions permit: In industrial motion control applications where temperatures stay below 100°C, upgrading from rubber to a steel-cord PU timing belt commonly extends replacement intervals by 2–3×, reducing total maintenance labor and downtime cost even though the PU belt itself costs 20–50% more per unit.
- Replace tensioners and idlers together with the belt: A worn tensioner bearing that fails shortly after a new belt is installed forces a second full disassembly. The incremental cost of replacing these components simultaneously is always lower than the labor cost of a repeat job.


 Inquiry

 English
 中文简体
中文简体